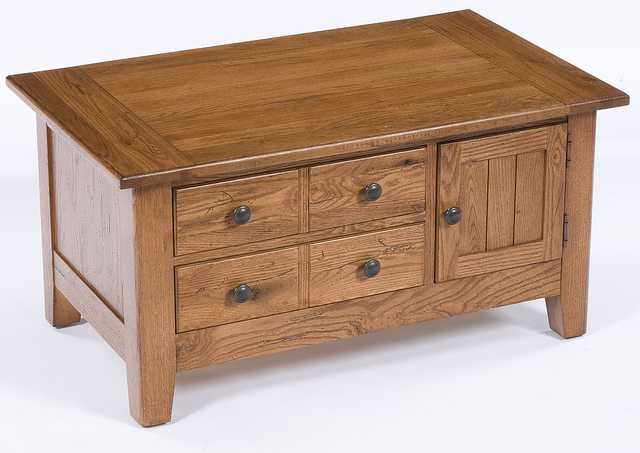
A chest of drawers carries maximum multipurpose use of a flat top. Whether you are constructing a study table or a drawer for the kitchen, they carry within a wonderful usage of space. A drawer is a fantastic personal space as well if you set up a lock on it.
Although it seems very challenging, yet a DIY homeowner can definitely give it a try. Once you get to it, the thing may not feel so difficult! You never get to know anything unless you try and give it a go. Check out below for simplified step by step instructions on setting it up.
Main challenges
The drawer is essentially made by panel joints. You have to start by obtaining an accurate measurement of the available space. Remember to keep at least half an inch gap between the side panels and the mainframe where you would insert the drawer. Otherwise, it will not move in or out smoothly. The panels on four sides should be jointed together firmly. The carpenter also needs to set up a dado at an equal length on all the four panels to hold the drawer floor board.
The dado is nothing but the niche word for a uniform groove made in constructing a drawer. Traditionally, the dado is made on the side panels, supporting the weight of the entire drawer. Invisible latches, screws and application of glue also hold the parts together. You do not have to construct elaborate joints either. Pocket-hole joinery and square cuts make it easy to set up a basic DIY drawer.
The steps
Have you taken the measurements? Good. Now cut the panels into pieces. Use a circular saw, carpenter’s tapes, or a simple table saw to obtain the primary six pieces of the drawer. No, there is no ceiling that you have to fix! You need four planks on both sides first, and then attach the bottom in the dado. Once this structure is ready, you set up an additional front piece with the front panel. So, there you have, the mystery of six solved in setting up your fantastic chest of drawer.
You can easily check out exploded views of constructing a drawer to obtain clearest idea on how you should proceed. Plywood drawers are eco-friendly and more cost effective than the other options such as MVF or lumber. Choose the right plywood, preferably of a formaldehyde free make. Use common sense and focus clearly on taking accurate measurements for the woodwork. All the six fragments of this closed box would not come together perfectly when there is even the slightest mismatch in measurements. The zero error requirements for drawers make it a trying challenge.
After you get them together
After you get all the pieces together fitting perfectly, install aluminum slides at the base for the drawer to move. Prefer epoxy coated slides as these have the best tolerance. Of course, you would have to set the groove on the panels so that they roll fluently on the slides. Many carpenters avoid the slides altogether. The wood/ plywood is made so smooth that it moves easily without a metal slide. Use a good knob at the front for the aesthetics.


