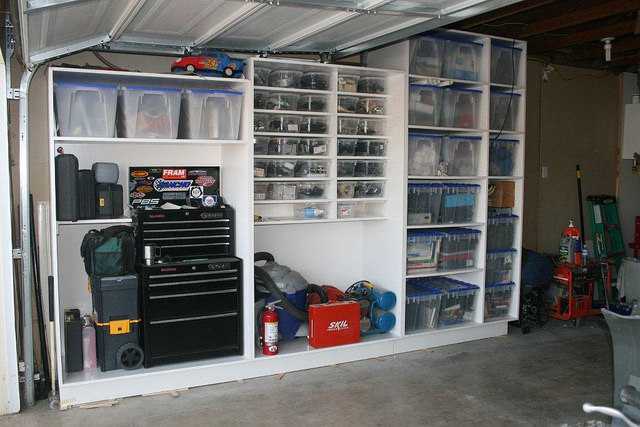
Selection
Garage or basement shelves are very useful to keep things arranged in there. A cluttered basement is actually one definitive sign of a careless household.
Bring some care to the places the visitors to your home would not go! Have a neat and clean basement with all things systematically stacked on the shelves you have made.
Get the wood ready
As usual, you can use either lumber or medium density plywood for the project. Salvaged wood can be a good choice but you would need a lot of it! You can set the shelf partly with salvaged wood as well. Shelves are typically made into at least four levels. The construction is not very challenging in its methods, but you have to set perfectly strong joints for support. Check out the general instructions in the following sections on how to set up garage shelves.
Keep the weight aspects in consideration. You can use this nifty digital weight calculator. According to it, a six-foot shelf made of 4 2×4 planks can support a maximum weight of 200 lbs without cracking. Your requirements would depend on the unique aspects of your project. Mark the length of the wall up to which you would set the shelf. Make the calculations. Tools needed for the project include a drill, a circular saw, & a random orbital sander besides the square and the measuring tape.
The construction
Start with tacking the 2×3 strips on the wall, according to your shelf plan. Of course, you must have the plan ready before doing anything! You would need to find the studs in the wall and set up the strips accordingly by nailing them. Use both screws and nails for horizontal and vertical strength respectively.
Next, you set up the end boards (the 2x4s) for vertical support at the ends. Cut the end boards to a height ½ inch taller than the highest board by the wall so that in the end, you can snugly fit in the plywood for the top shelf. Set the base board by notches on the support beams. The notches can be made on the board as well.
Detailed procedure
Now, proceed with the outer vertical boards, the 2x4s again. Arrange something to support the base board as you fit in the outer vertical planks. Between each vertical 2 x 4 board, the support is provided by the horizontal 2×3 planks. Use your long level tool to make sure they are vertical and steady.
Experienced carpenters suggest using the perpendicular diversion of walls as an additional support. For this, you have to set the 2×3 strips horizontally on the subsequent wall perpendicular to the one where you are working. This is essentially a very good strategy because you do not have to make one of the side walls as well! The wall of your garage would be the side wall.
Final set up
Set up the framework at all levels. Put on the plywood when they are ready. You will also need to add the legs for additional support. Do not space them too far. Varnish and paint the structure to finish.